


Using AI to predict prices and manage investments is the key to gaining a competitive edge in the crypto space. Doing so isn't as difficult as you might think.
This is the fifth of a six-part blog series on real-time crypto price predictions with AI. In this blog, I'll deploy the AI models I've built and tested previously on a real-time feed of crypto prices. Keep up with the rest of the blog series:
- Acquire up-to-date crypto data with Apache Airflow
- Implement an LSTM model with TensorFlow
- Implement a linear regression model with Nvidia RAPIDS
- Test the models on simulated real-time data
- Implement the models on real-time crypto data from Coinbase
- Share AI predictions with URIs
Now that the model building, training, and testing is all complete, it's time for the last step in the machine learning workflow: deployment. For this application, the deployment will be applying the models to real-time crypto prices obtained from the Coinbase Websocket API. Previously, Jake Mulford wrote a blog that details how to use the Coinbase websocket API that details how to use this API. I'll be building on his work for this application.
Pulling from Coinbase
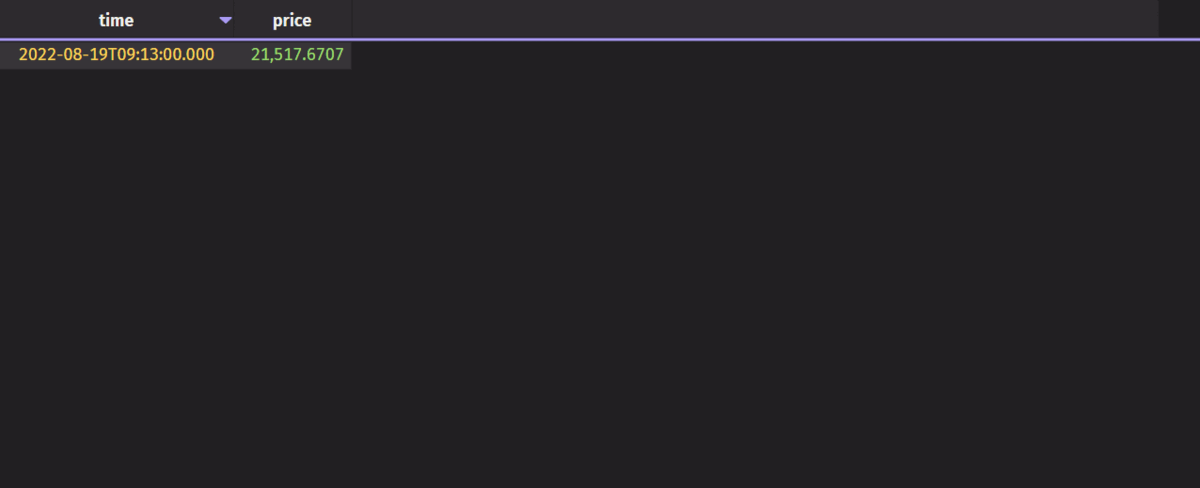
I've made small changes to Jake's code so that it only listens to a subset of the available data. In order to match the time steps in the training model, we update the crypto price once per minute. I've built on his work by only ingesting the data I care about for my AI models. I will use this workflow to predict Bitcoin prices with both models.
Click to see the code!
Real-time price prediction
In the previous blog of the series, we tested both the TensorFlow and Nvidia RAPIDS models on simulated real-time feeds. If you're keeping up with the series, you'll see that the code to implement them here is remarkably similar.
The only notable difference in the code is the use of a flag that indicates if the first price has been received from Coinbase.
TensorFlow LSTM model
The model in code below is the TensorFlow LSTM model we previously implemented. To run the code below, you'll need to run the code from that blog.
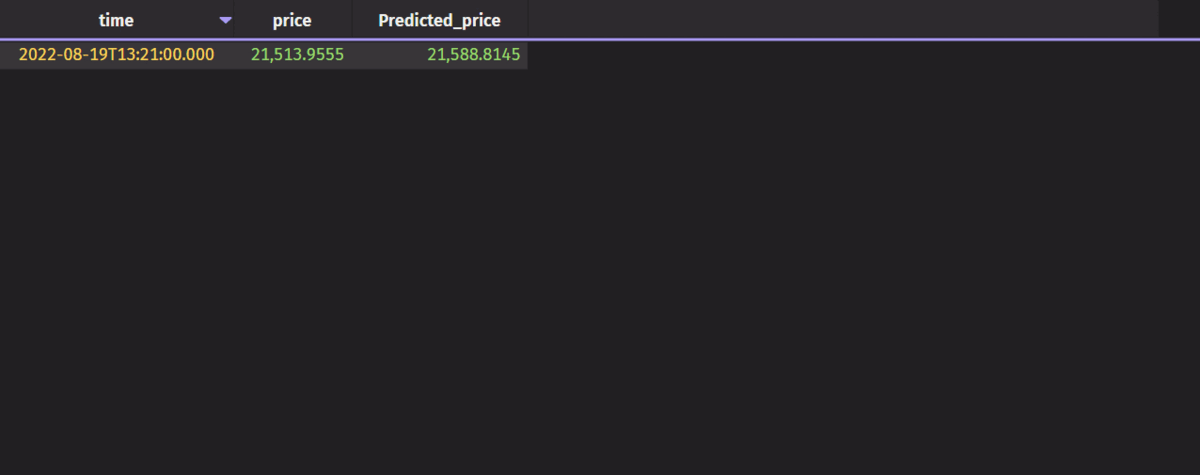
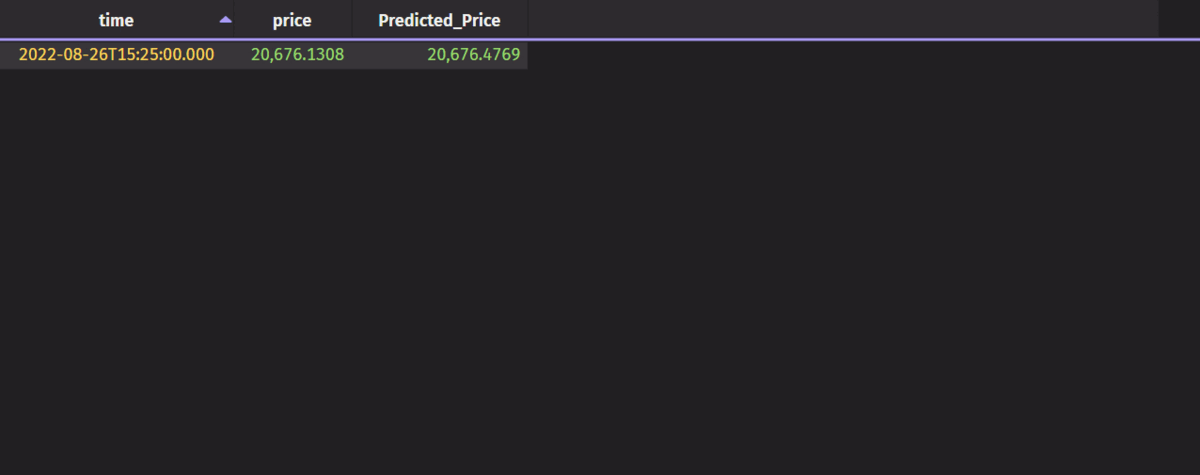
Upon receipt of the first price, the first_time flag gets set to false. Any time a new price comes in after that, the prices shift, and the newest price gets rolled to the end of our model input. The price is predicted in turn.
Click to see the code!
Nvidia RAPIDS linear regression model
The code below uses the fitted Nvidia RAPIDS linear regression model previously implemented. To run the code below, first run the code from that blog.
This code is also remarkably similar to that of the previous blog. Just like with the LSTM above, we roll the newest value into the input for our model each time a new, current price is obtained from Coinbase.
Click to see the code!
Plot the results
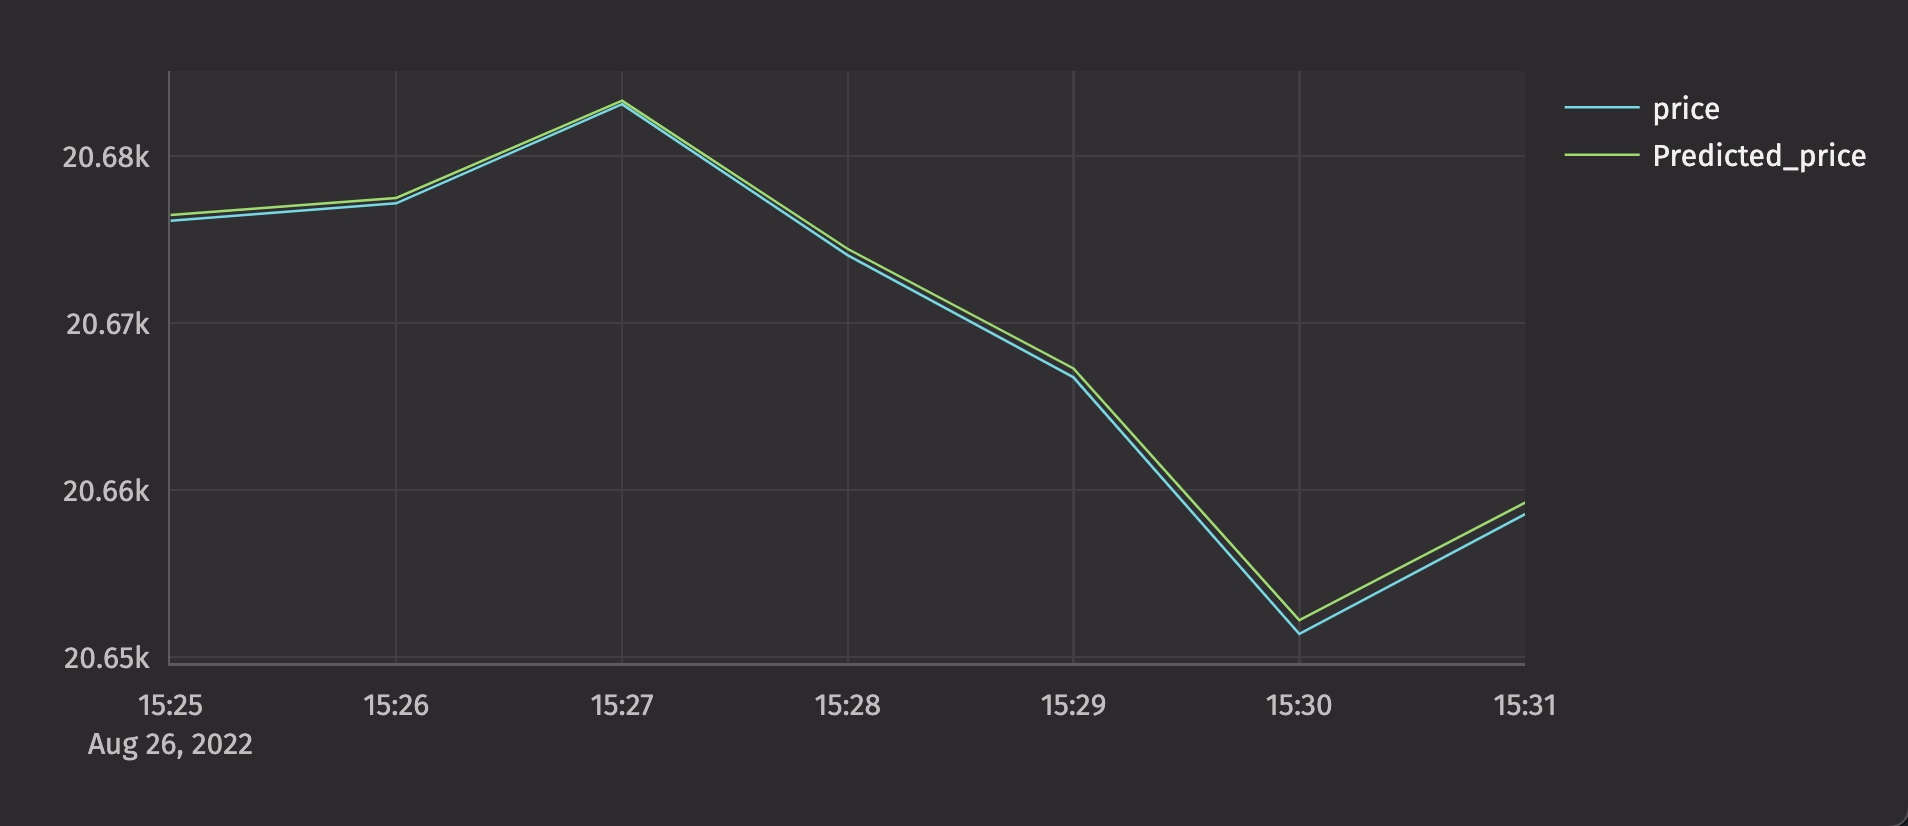
I like to watch my model work in real time. I can see how it performs, and make informed decisions based off its behavior.
from deephaven.plot.figure import Figure

rt_plot = Figure()\
    .plot_xy(series_name="price", t=real_time_prediction, x="time", y="price")\
    .plot_xy(series_name="Predicted_price", t=real_time_prediction, x="time", y="Predicted_price")\
    .show()
Here's a screenshot of what the plot looks like after the first seven predictions.
Try this out for yourself! Both of the models presented in this series can easily be modified to suit your needs, and are flexible in their applications. In the next and final blog of the series, we'll share the results of our efforts in a new and exciting way.
Reach out on Slack if you have any questions or feedback for us.